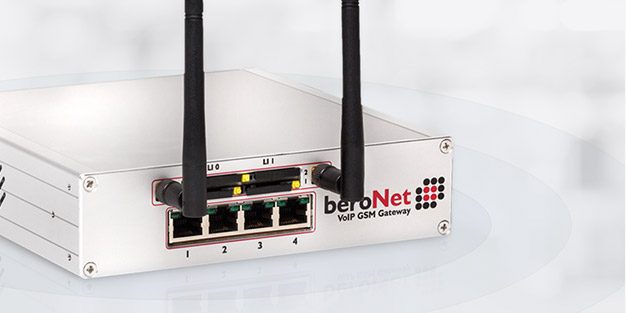
When designing our VoIP Appliance, we focused on creating a flexible solution that can function with any IPBX with a built-in beroNet Gateway. To make this a reality we developed the beroNet USB boot-stick which allows you to pick and choose the IPBX you wish to use and install it directly on the device.
To get started, you need the following:
• 1 beroNet telephony appliance Revision 2.0
• 1 beroNet USB boot-stick
• An Internet connection for the appliance via Ethernet cable
First, plug the USB key into the appliance and boot the appliance; this cause the appliance to use the USB stick as the default boot drive. Once the appliance has started, you can access it from another computer via the network center. If you have a monitor connected directly to the Appliance, it shows the IP address from which it is possible to access the “beroNet Appliance Installer.” It is also possible to access the installer via Bonjour.
By double clicking on “beroNet appliance Installer,” your default browser should open the following page:
An image of Asterisk is installed by default on the stick. In order to have access to other images, click “Fetch Image-list.”
Once the list has appeared, click on the image you want to install on the appliance. Wait while the image is being downloaded.
When the download is complete, click on “install x” in order to launch the installation.
When the installation is complete the appliance will shut down. Remove the USB stick, start the appliance, and configure your IPBX system.


